Fifth Grade
Landscape Collages
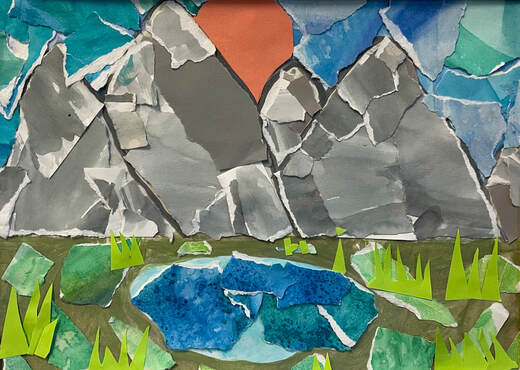

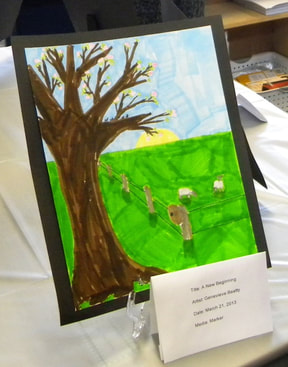
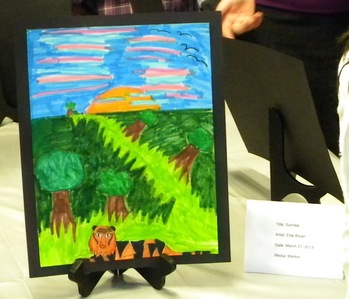
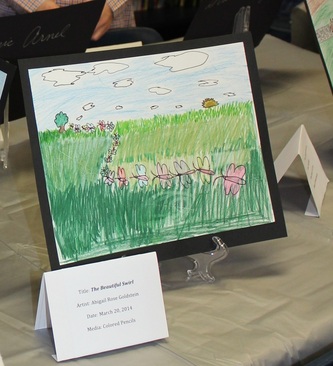
Fifth grade students began this project by studying different horizon lines found in nature. They learned that horizon lines separate the background from the foreground and are most successful when placed somewhere in the upper third or bottom third of a composition. Students started their work by painting colorful backgrounds using watercolors, making sure they had a clear horizon line to guide the next step of building a collage. Collage is a French word that means to glue. Students learned how to build a landscape gluing torn pieces of paper down to their backgrounds. The torn pieces of paper had been used for a past project, so fifth graders benefited from having a variety of shapes and colors to choose from when building the elements in their works. As a final step, students were asked to add details such as rocks, a sun, or moon to add interest. Each composition features the artist’s unique perspective and creativity.
watercolor landscape collage
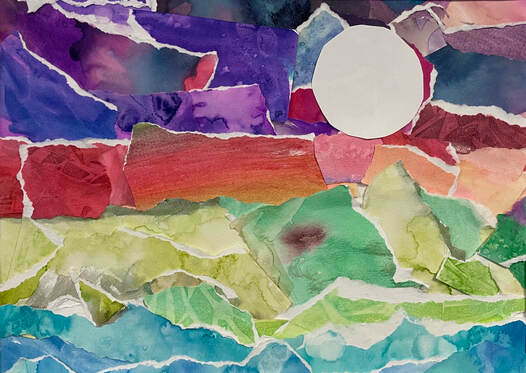
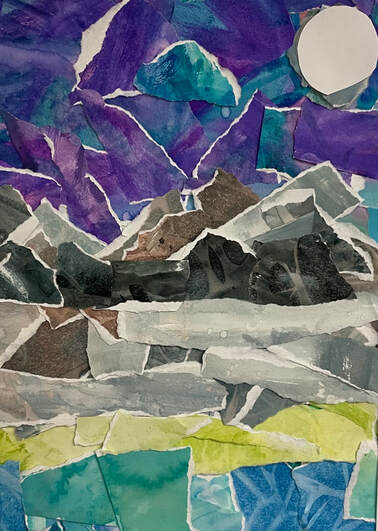
auction project 2022
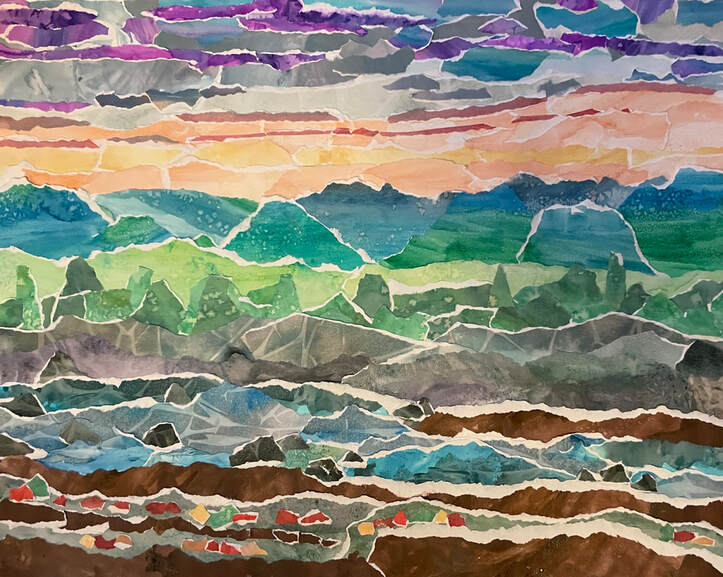
For this year’s auction project, students were inspired by our Western North Carolina mountain landscapes. Each group voted on a landscape they would like to recreate using watercolor and collage techniques. The students learned five common watercolor techniques to begin the process. Next, the students joined teams based on the parts of a landscape: sky, ground, trees, mountains, and rocks. Each team used their favorite watercolor technique to paint their part of the landscape. For example, the sky team painted colors that you would find in the sky. Finally, the teams worked together and used their decorated paper to form a collage. When a collage came together, the students immediately realized that their part had a powerful impact on the larger work. Each student felt a sense of accomplishment and joy at seeing their hard work pay off.
Fresco Painting
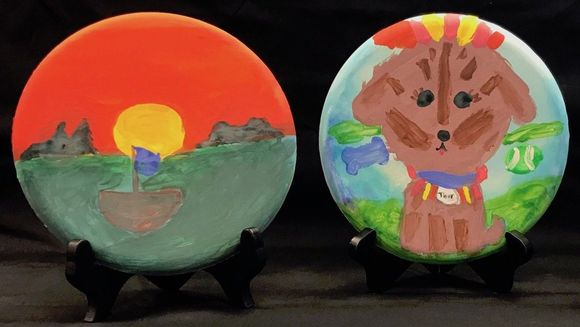
During this project, our fifth grade students learned about the Renaissance time period, the process and science of making frescos, and about several famous artists including Leonardo Da Vinci and Michelangelo. Afterwards, the class created their own frescos using plaster molds, watercolor, and tempera paints.
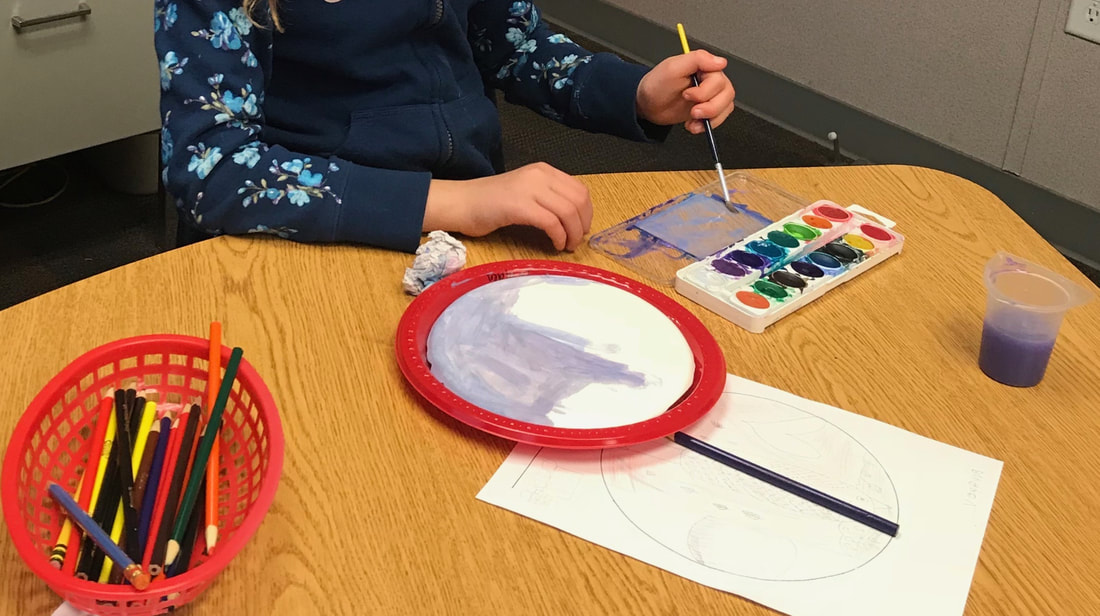
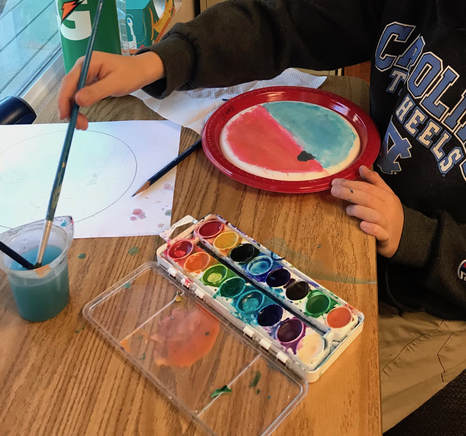
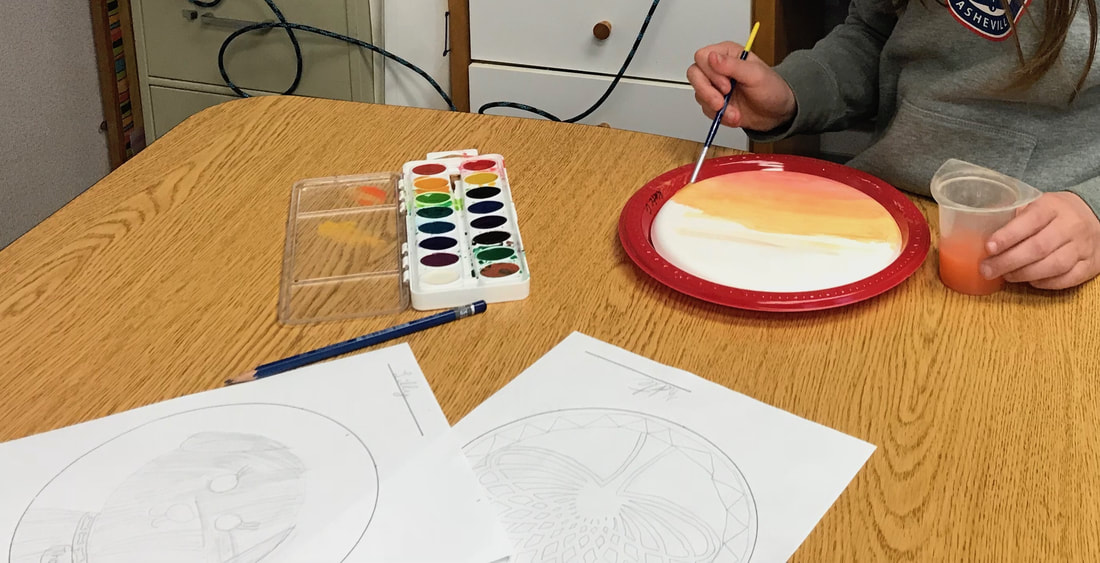
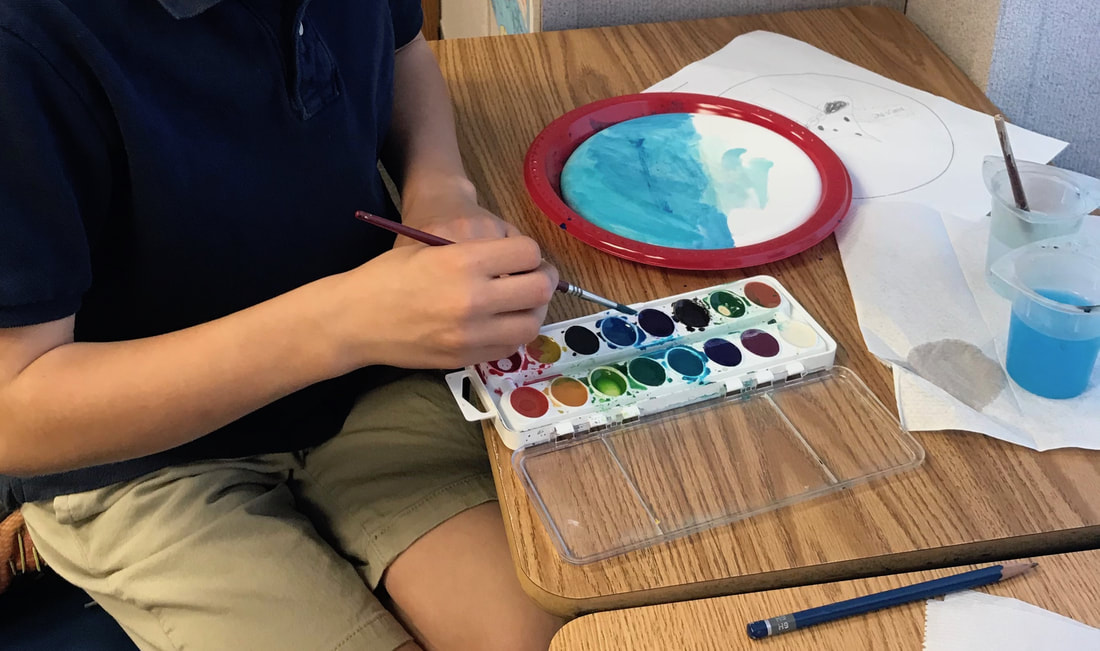
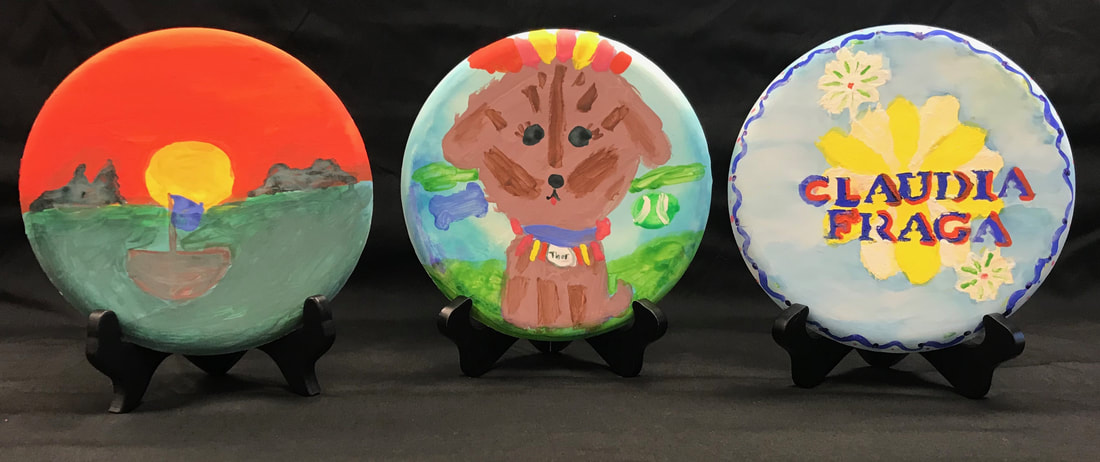
I began the art project featured above by mixing 20 plaster molds into the plastic plates (I used a simple plaster mix from Michaels). When the molds were completely dry, I gently flipped them over in the plates so the students could paint on the smooth underside. The students brainstormed ideas on paper first then drew their best on a circle template (see example drawings below). Next, the students used watercolors (more paint than water this time) to paint their fresco backgrounds. Then, I had the students use tempera paints to add details to their backgrounds. Each student created a unique fresco during the process.
I began the art project featured above by mixing 20 plaster molds into the plastic plates (I used a simple plaster mix from Michaels). When the molds were completely dry, I gently flipped them over in the plates so the students could paint on the smooth underside. The students brainstormed ideas on paper first then drew their best on a circle template (see example drawings below). Next, the students used watercolors (more paint than water this time) to paint their fresco backgrounds. Then, I had the students use tempera paints to add details to their backgrounds. Each student created a unique fresco during the process.
|
|
Historical Facts about Fresco Painting
Fresco painting is a method of painting water-based pigments on freshly applied plaster, usually on wall surfaces. The colors, which are made by grinding dry-powder pigments in pure water, dry and set with the plaster to become a permanent part of the wall. Fresco painting is ideal for making murals because it is durable and has a matte surface. An example is shown below.
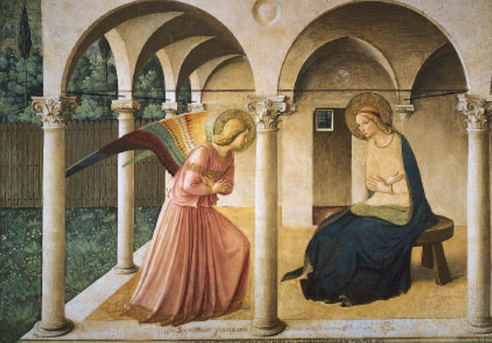
The Annunciation, fresco by Fra Angelico, 1438–45
The students watched Michelangelo and the Science of Fresco Painting/Chemistry Meets Art. Here's the link to the resource: www.youtube.com/watch?v=lUddM_Y_snQ.
Auction Project for Fifth Grade

The fifth grade students collaborated to create the work above for our school auction in April of 2017. The students created leaf designs on canvases using Elmer's glue. Once the glue was dry, they painted their canvas with watercolors and acrylics. The book pages were glued to a canvas (in the background) to create a layered effect. Lastly, all the canvases were arranged and glued to the large green canvas to complete the work.
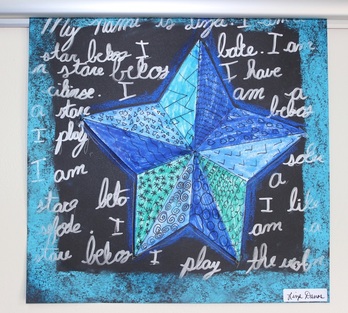
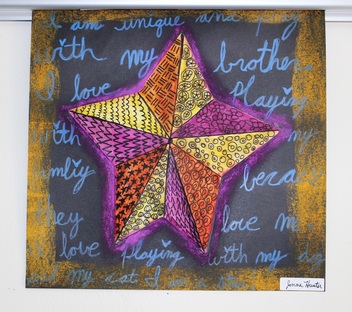
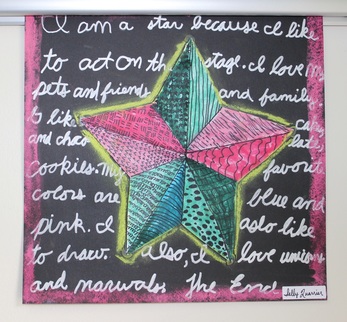
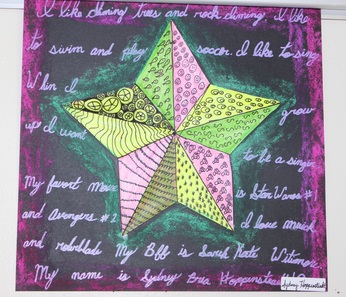
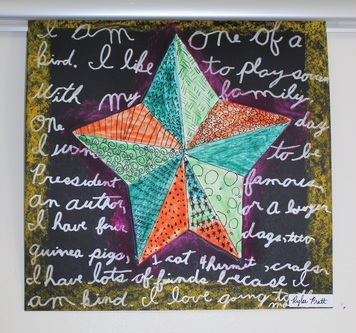
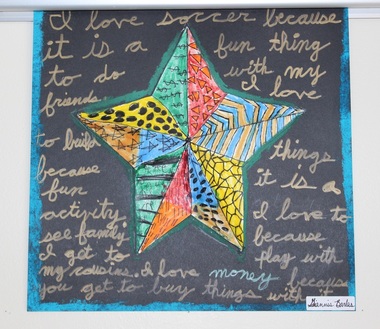
Welcome to the stars
This lesson came from one of my favorite art bloggers, Cassie Stephens, at cassiestephens.blogspot.com/2016/03/in-art-room-super-star-sub-plans-and-my.htm. She has developed amazing sub plans (with step-by-step pictures and directions), but I decided the project would make great artwork for our walls on Parent's Night. The project was a hit and the stars may even be used to make a quilt.
|
|
|
|
Perspective
To kick off our study of perspective, I like to show this youtube video.
Stefan Pabst's 3D work is amazing!
www.youtube.com/watch?v=TE8Z4Mu9DgY
Each fifth grader studies the Renaissance time period at our school. To celebrate the period, we learn about famous artists such as Leonardo da Vinci and Michaelangelo and their works (i.e. The Last Supper and the Sistine Chapel).
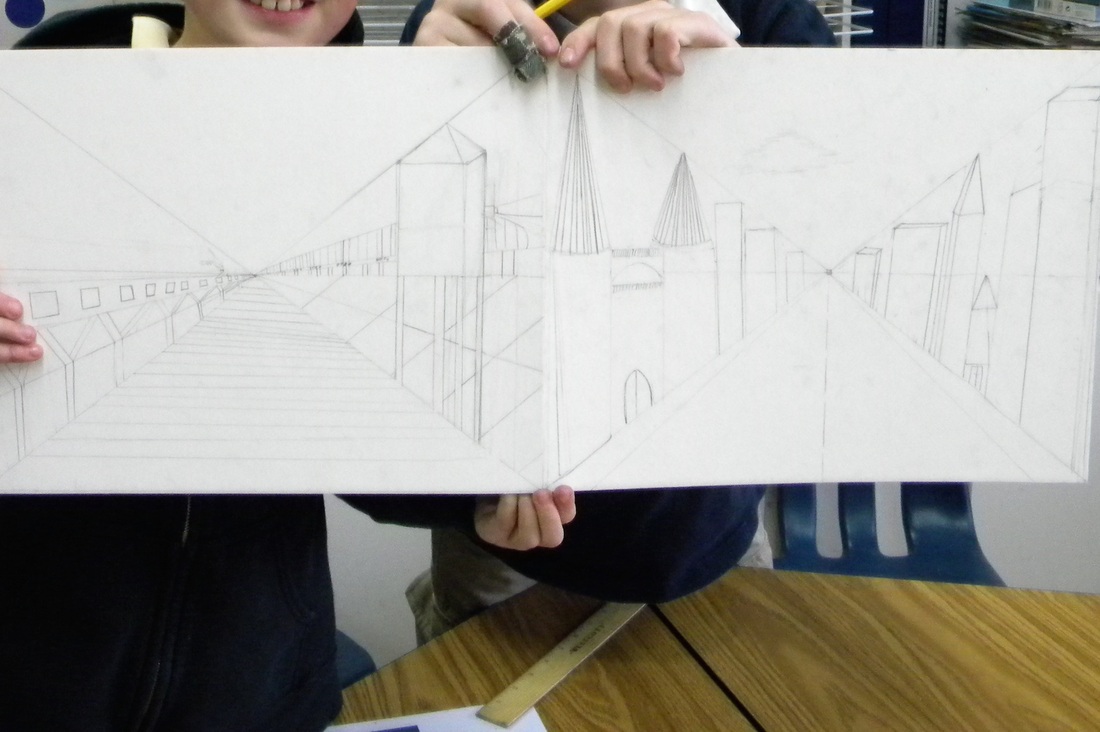
During the lessons, we focus heavily on the development of perspective in art. We discuss the use of a vanishing point and a horizon line to make 2D work show depth. The students create their own works of art and have an art opening where the school community is invited to see their masterpieces.
During the lessons, we focus heavily on the development of perspective in art. We discuss the use of a vanishing point and a horizon line to make 2D work show depth. The students create their own works of art and have an art opening where the school community is invited to see their masterpieces.
Various Projects of Student Work USING Perspective
|
|
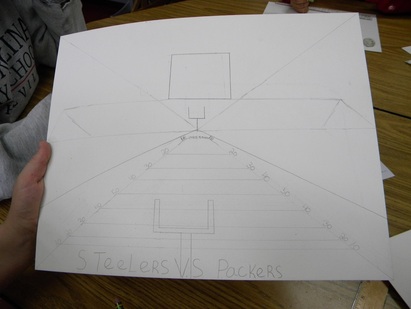
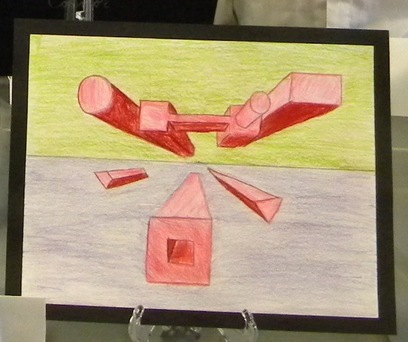
Sketches of student work in one point perspective with a horizon line and vanishing point.
Sample work using markers to depict perspective.
|
Sample work using colored pencils to show one point perspective.
|
|
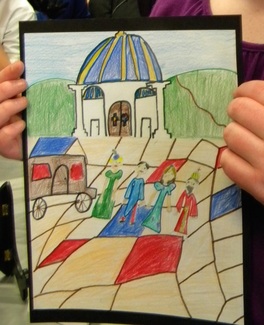
This piece tied into our study of the Renaissance.
|
Another fantastic resource for teaching the use of perspective is
Aquarium Art Perspective Lesson for Kids Leah's Newton Art
www.pinterest.com/pin/263953228147471588/
Aquarium Art Perspective Lesson for Kids Leah's Newton Art
www.pinterest.com/pin/263953228147471588/
Youtube video of walking through the underwater tunnel at the Georgia Aquarium:
www.youtube.com/watch?v=TzWZHAD7INs
www.youtube.com/watch?v=TzWZHAD7INs
