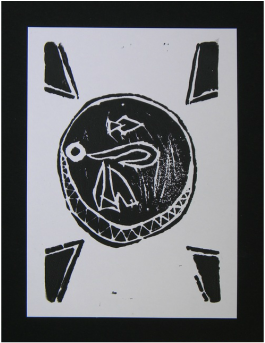
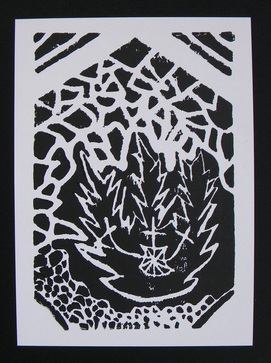
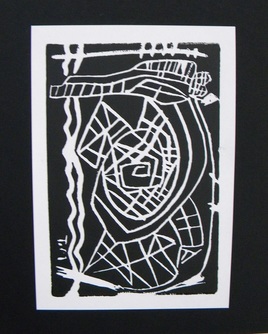
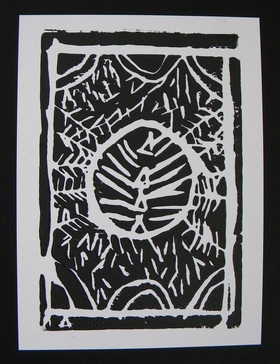
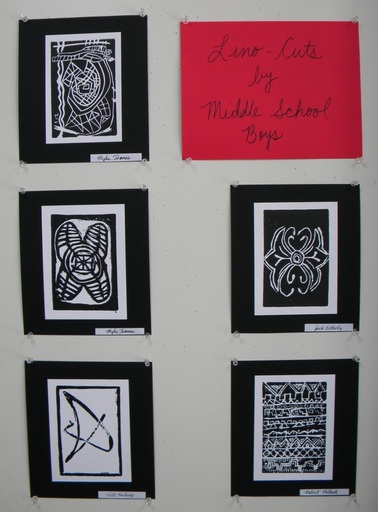
Linoleum Block Prints
|
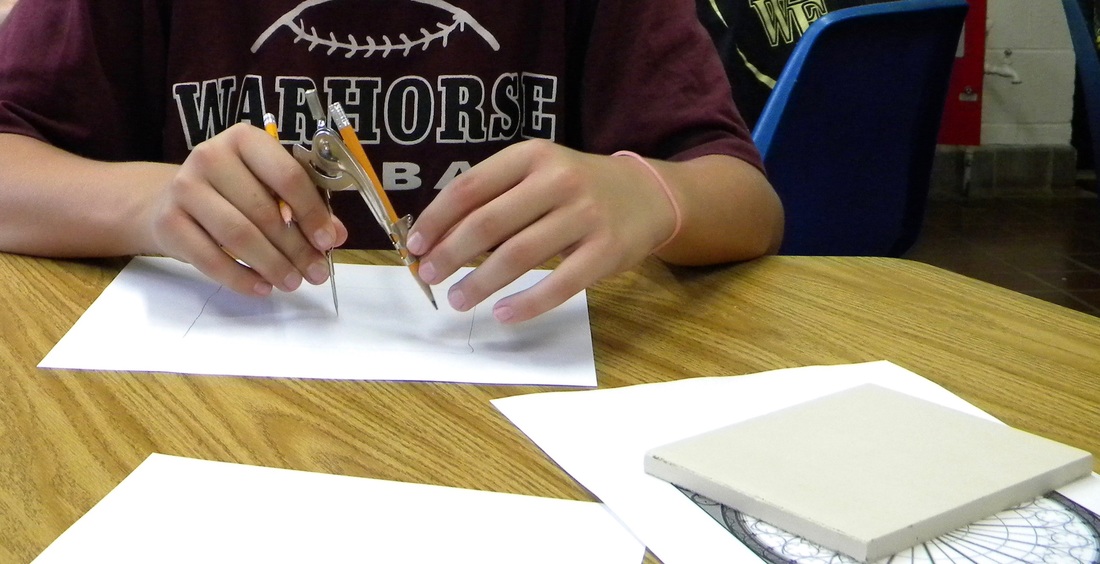
1. Sketch ideas.
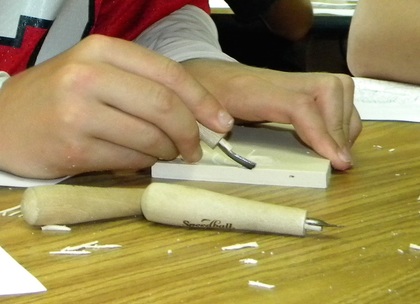
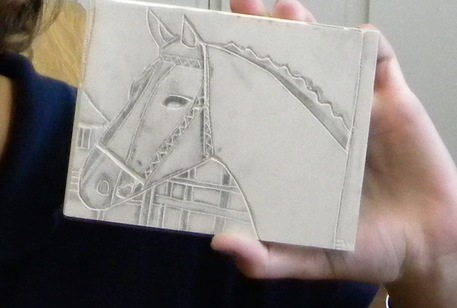
3. Cut out image using carving tools.

|
2. Draw image on linoleum block.
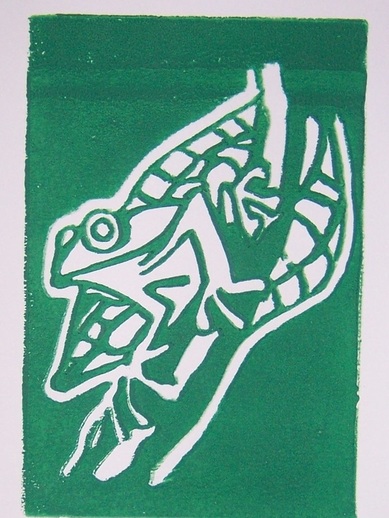
4. Ink the block using a brayer, lay a sheet of nice printing paper on the inked block, and run block and paper through a press.
|
|
|
The Process:
- Sketch ideas out and choose your favorite image.
- Draw the image on the linoleum block. Another version of placing an image on a block is to draw an image on tracing paper, lay the tracing paper on the block, and press the pencil lines on to the block using a rolling pin.
- Carve the image on the block out using special carving tools. In the step, think about the positive and negative space in the composition. What do you want to be inked and what do you want to be white?
- Ink the block using water-based inks and a bayer. Tip: coat the brayer evenly then roll the ink over your image on the block.
- Place printing paper on top of the block and run the paper and block through a press. (Due to the lack of space, we did not have a press. I had the students press their images with a rolling pin which worked well. Tip: One student would hold the block and paper to keep things stable while the other student steadily rolled the rolling pin over the paper.)
